it's all about technique...
...so riddle me this, what do this project....
... and this project have in common?
well besides being on canvas, i dabbled with something known as acrylic texture paint on both of them. someone had asked me what kind of techniques / hints could i suggest for using this kewl stuff so i decided to put together a short "how to" technique thing on my blog today.
the acrylic texture paint i use come in a whole slew of colors from cream to rich red to black. i have 3 tubes of it that i bought in colors i use (hint, the sand color one is very easy to turn into a different color by mixing with acrylic paints!). the pricing on the tubes are about $5 - $6 a tube (but as you can see from the pic, i snagged one for $3!) . i am also have 2 things i use for spreading - a popcicle stick, an art "spatula" and in many cases i just use a finger.
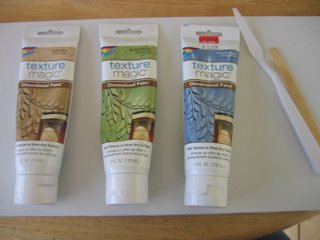
today, i am going to show you what you can do with this on a transparency! the reason i like doing this on a transparency is that this way you won't ruin a canvas project if you are scared to try this technique if you try it on a transparency. but if you like what you did on the transparency, you can so easily TACK it to your canvas or cut it out to make an embellishmnent.
so take a transparency and squirt a tablespoon of the well kneaded texture paint on it like so:
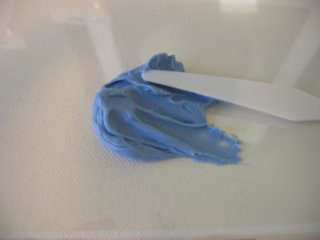
then all you do is go crazy with the spatula and spread the gooey stuff around! don't be afraid to experiment. mix some of the colors together and see what happens - it is like when you are a kid and you start mixing play dough together although at some point, you end up with this ashen grey play dough but hey don't be afraid!

you can even add a little acrylic paint for more color! but start spreading the acrylic texture paint around. make it look like spackling. smooth it out.

some things i have tried include stamping in it. for this, i would suggest a stamp with a large image (so nothing really detailed) but foam stamps work well. you can see how i have stamped in the texture medium in my first two pictures. one hint is to let the acrylic texture paint get some "body" before stamping (or you will get a big mess). to let it get some body, let the texture medium dry a bit - say 20-30 mins. then try your stamping. your images will be much crisper and hold better!
for this project though, i decided to add some clear micro beads to the texture:
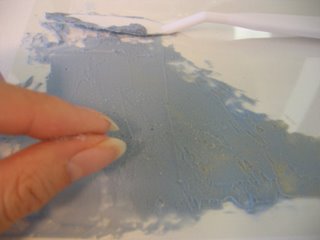
then i allowed it to dry...
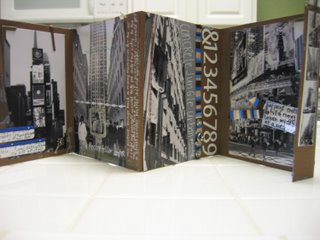
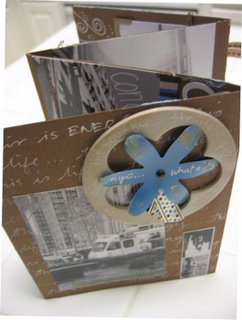
afterwards, i didn't know what project i wanted to create with it but the color and texture reminded me of a city so i decided to make an accordion album of my home town NYC - so with my transparency, i cut it into the size i needed, then on the cardstock background, i wrote on it with a white sharpie so it would show through the transparency and peek out from some of the the texture paint to give me this result:
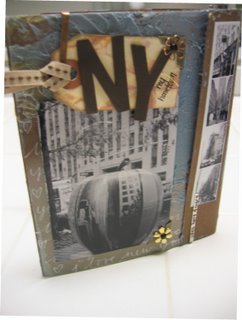
as you can also see, i just directly applied some of the texture paint to the cardstock corners and edges and allowed them to dry to keep with that "concrete" feel.
that's it! creating is all about trying new stuff and expanding your horizons.
LMK if you have any comments or questions about this technique!



7 Comments:
Caroline!!! This is AWESOME!!! I was just thinking today, "I'm totally technique challenged, I need help!" And this is just what I needed! I'm SO going to try this tonight. Thank you! Thank you for the awesome instructions - love the idea of doing it on a transparency first. Your book is just GORGEOUS!
Very cool! Thanks for sharing!
Totally cool as usual! :)
okay this rocks Caroline!!!! That book is so cool!!
OH my thank you for the inspirations! I have SIX tubes of this I bought on sale months ago, and then chicken out on putting it on the book I was making... I am going to try again!
caroline- so cool! I am teaching a similiar technique soon but with gesso! Great stuff!
so cool!! Thanks for sharing...that mini book looks AWESOME!!
Post a Comment
<< Home